





General
How to Improve Webcam Quality on Your Laptop
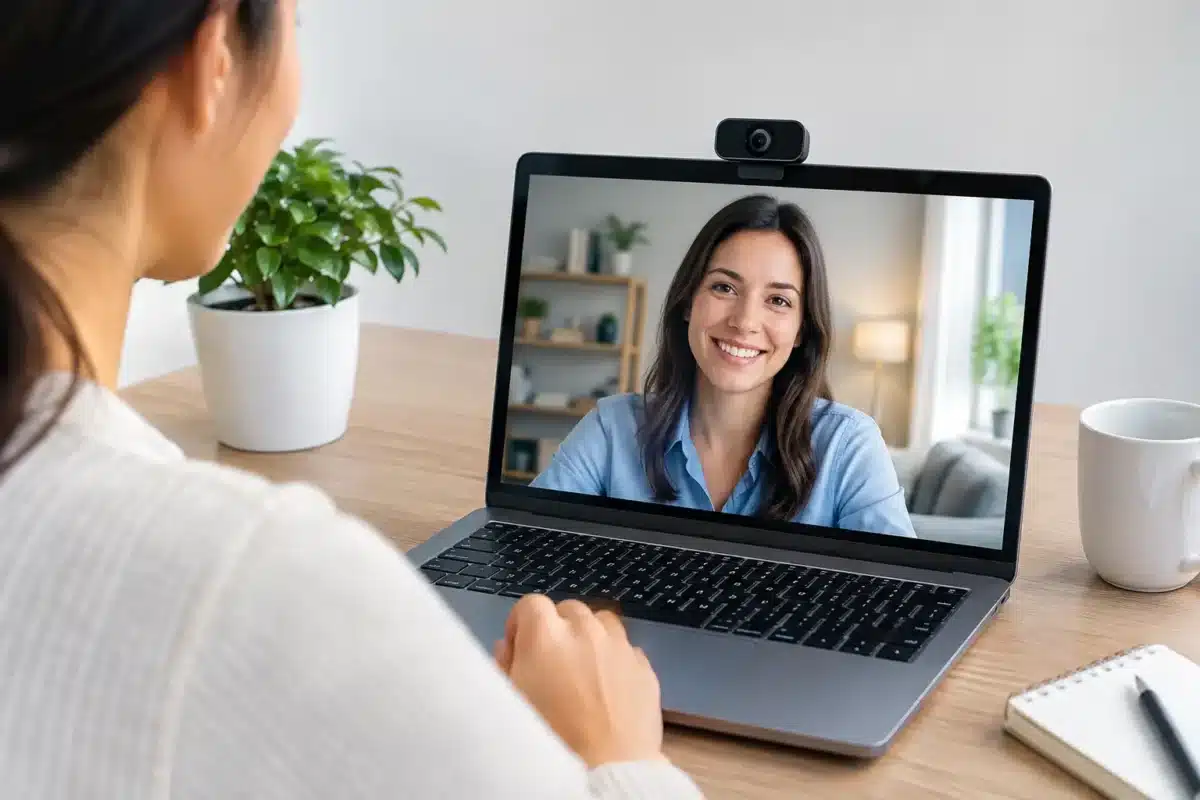
A laptop camera can make a capable business machine look older than it is. Grainy video, a dim face or a blurry image is usually not a sign that the laptop has failed. If you want to improve webcam quality on a laptop, start with the factors that affect every video call: light, camera placement, software settings and internet connection.
For remote work, online classes and client meetings, clear video helps people focus on what you are saying instead of trying to work out what they can see. The good news is that most fixes cost little or nothing. An external webcam is worthwhile in some cases, but it should not be the first answer for every laptop.
Start with light, not camera settings
Lighting has a bigger effect on webcam image quality than resolution alone. A standard 720p laptop camera in good light will often look sharper and more professional than a 1080p camera in a dark room.
Sit facing a window where possible, with the daylight falling onto your face. Avoid putting the window directly behind you. Backlighting makes the camera expose for the bright window, leaving your face in shadow. If your only desk position faces away from the window, close the blind slightly and use a lamp in front of you.
A desk lamp with a soft, diffused bulb works well. Position it just above eye level and slightly to one side, rather than pointing it straight at your face. Harsh overhead lighting can create dark eye sockets and strong shadows, while a lamp placed too low can look unnatural on a call.
For frequent meetings, a small LED video light is a practical upgrade. It does not need to be expensive or overly bright. Look for adjustable brightness and colour temperature so you can match the room lighting. A neutral to warm setting generally looks more natural in a home office.
Clean the lens and check its position
Laptop webcams sit in the top bezel, where fingerprints, dust and cleaning residue can quickly reduce image clarity. Switch the laptop off or close the camera app, then wipe the lens gently with a clean microfibre cloth. Do not spray cleaner directly onto the screen or camera.
Next, raise the laptop so the camera is close to eye level. A stack of sturdy books or a laptop stand is enough. When the device sits flat on a desk, the camera points upwards and produces an unflattering angle. Raising it also improves posture, which matters when you are working through a full day of calls.
Check the background before a meeting. You do not need a styled home office, but a clear, reasonably tidy background looks more professional than an open wardrobe, washing pile or busy walkway. If your meeting app offers background blur, use it carefully. On lower-powered laptops, heavy virtual backgrounds can make video look soft or cause the picture to stutter.
Improve webcam quality on laptop settings
Before changing anything, test the camera in the app you actually use. Microsoft Teams, Zoom, Google Meet and other platforms can each apply their own settings, effects and bandwidth limits. A camera that looks fine in the Windows Camera app may look different during a meeting.
In Windows, open Settings, then Bluetooth & devices and Cameras. Select the built-in camera to check available controls. Depending on the model and driver, you may be able to adjust brightness, contrast, exposure and video quality. Small adjustments are best. Over-brightening the image can remove facial detail and make the picture look washed out.
Within your meeting software, confirm that the correct camera is selected. This becomes especially important if you sometimes connect an external webcam, monitor webcam or docking station. Also check whether HD video is enabled. Some platforms reduce video quality automatically to conserve data, particularly on large group calls.
Disable beauty filters or automatic framing if they make the image look strange. These tools can be useful, but they are not always accurate in low light. If your face appears overly smooth, flickers at the edges or moves in and out of focus, turn the effect off and test again.
Update the camera driver
A driver is the software that lets Windows communicate properly with the camera. An outdated or corrupted driver can cause a black screen, poor exposure, freezing or a camera that is not detected at all.
Use Windows Update first, including optional updates where appropriate. If the issue remains, open Device Manager, find Cameras or Imaging devices, select the integrated webcam and check for a driver update. Restart the laptop after updating.
For a refurbished business laptop, it is also worth confirming that the manufacturer’s support software and chipset updates are current. Enterprise Dell, HP and Lenovo models are built for regular office use, but a clean Windows installation or older driver can leave a feature unavailable until it is updated.
Turn off competing camera apps
Only one program can reliably control the webcam at a time. If your meeting application reports that the camera is unavailable, close other video apps, browser tabs and background software that may be using it. This includes camera utilities, recording tools and some security programs.
Restarting the laptop is a sensible first step when a camera suddenly stops working. It clears a surprising number of temporary conflicts without requiring a complicated fix.
Make sure your connection is not the real problem
A clear webcam image can still look poor to other people if your connection is unstable. Video calls need consistent upload speed, not just a high download figure. If the image freezes, becomes blocky or falls out of sync with your voice, test your connection before replacing the camera.
Move closer to the Wi-Fi router if the signal is weak, or use an Ethernet cable for important meetings. Wired networking is especially useful in busy households, classrooms and small offices where several people are streaming or on calls at the same time.
Close cloud backups, large downloads and unnecessary browser tabs before a presentation. These can consume bandwidth and laptop resources. If calls only look poor at certain times of day, network congestion may be the issue rather than your webcam.
When an external webcam is the better option
Built-in cameras are designed for convenience, not always for premium image quality. A good external 1080p webcam is worth considering if you attend video meetings most days, teach online, interview candidates or need reliable video for customer-facing work.
External webcams generally offer a larger sensor, better low-light performance, improved autofocus and more flexible mounting. They can sit on top of an external monitor at eye level, which is ideal for a dual-screen desk setup. This is often a bigger practical improvement than simply adding more pixels.
Choose based on your use case. A straightforward 1080p webcam is enough for most work, study and family calls. Paying extra for 4K makes sense only if you record video, present detailed physical products, or have strong lighting and a fast connection. Otherwise, the extra cost may not show much benefit in everyday meeting software.
Check compatibility before buying, particularly if you use an older laptop or a work-managed device. USB-A remains common on refurbished business laptops, while some newer models use USB-C. A docking station can help keep an external webcam, monitor, keyboard and network cable connected neatly at one desk.
Know when the built-in camera may be faulty
A persistent black image, coloured lines, repeated disconnects or a camera that will not appear in any application may point to a hardware fault. First check whether there is a physical privacy shutter or keyboard camera key enabled. Many business laptops include these security features, and it is easy to overlook them.
If the camera works only when the lid is held at a certain angle, the internal cable may be damaged. That is a repair issue rather than a settings issue. For a budget-conscious buyer, compare the cost of repair with the price and convenience of an external webcam. An external unit is often the more sensible solution when everything else on the laptop is working well.
A professionally refurbished laptop remains a strong value choice for work and study, even when its built-in webcam is basic. Put the laptop at eye level, light your face properly and test the call setup before it matters. Those small changes usually deliver the clearest improvement for the least spend.


