General
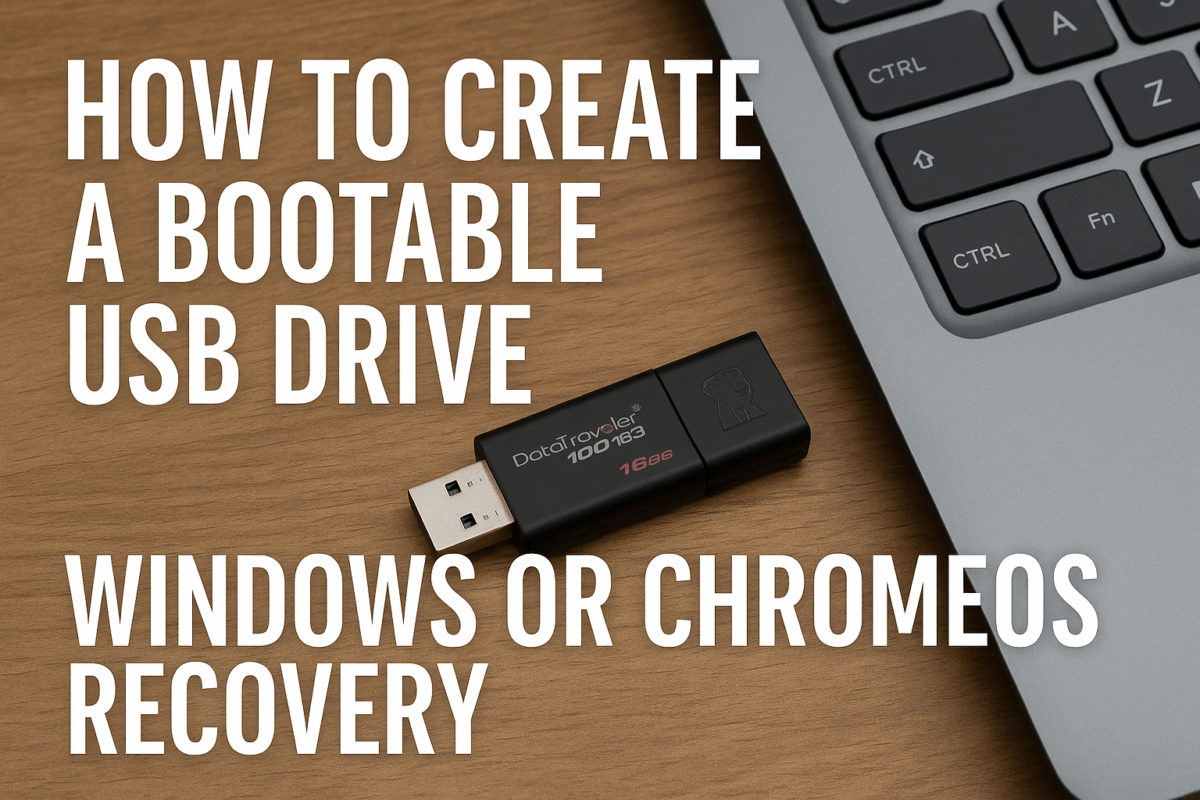
How to Create a Bootable USB Drive for Windows or ChromeOS Recovery
Whether you’re reinstalling Windows, recovering a Chromebook, or fixing a system that won’t boot — a bootable USB drive is an essential tool. The good news? It’s easy to create, totally free, and takes under 15 minutes with the right steps.
Here’s how to make a bootable USB drive for both Windows and ChromeOS recovery.
💻 What Is a Bootable USB Drive?
A bootable USB is a flash drive set up to start (or “boot”) a computer directly, even if the internal hard drive is faulty or wiped. It allows you to:
- Reinstall your operating system
- Access recovery tools
- Reset forgotten passwords
- Perform offline diagnostics
🪟 How to Create a Bootable USB Drive for Windows
🧰 What You’ll Need
- A USB stick with at least 8GB of storage
- Access to a working Windows computer
- An internet connection
🪛 Step-by-Step (Windows 10 or 11)
- Visit Microsoft’s official tool page:
👉 https://www.microsoft.com/software-download/ - Choose Windows 10 or Windows 11, and download the Media Creation Tool
- Insert your USB stick
- Run the tool → Select:
- “Create installation media (USB flash drive)”
- Choose your language and edition
- Select the USB drive
- Wait while it downloads and writes the image (usually 10–20 mins)
Once complete, you can plug this into any Windows PC, boot from USB, and start the recovery or reinstall process.
💡 Pro Tip: Boot Menu Shortcut
When starting your device, tap one of these keys to access the boot menu:
- Dell: F12
- HP: ESC or F9
- Lenovo: F12
- Acer: F12
(You may need to enable legacy boot in the BIOS)
💻 How to Create a Chromebook Recovery USB
If your Chromebook is stuck on a recovery screen or showing an error, here’s how to create a recovery USB.
🧰 What You’ll Need:
- A USB stick (8GB or larger)
- Chrome browser on a working PC or Mac
- Your Chromebook’s model number (shown on the recovery screen)
🪛 Step-by-Step
- Open Chrome and install the official Chromebook Recovery Utility:
👉 Chrome Web Store – Chromebook Recovery Utility - Launch the tool and click “Get Started”
- Enter the Chromebook model number OR select it manually
- Insert your USB and follow the prompts
- It will download and write the ChromeOS image (5–10 minutes)
After it’s done, insert it into the broken Chromebook and follow the on-screen prompts to recover it.
🛠️ Bonus: Reuse Your USB Drive Later
Once you’ve used your bootable USB, you can format it and use it like a normal flash drive again.
✅ Final Thoughts
Whether you’re reinstalling Windows, reviving a Chromebook, or helping someone else troubleshoot — a bootable USB is one of the best tools to have on hand.
At NZ Laptop Wholesale, we include pre-installed Windows on all devices, but we’re always happy to help if you ever need to do a clean install or recovery.
Need help creating recovery media or reinstalling Windows?
👉 Contact NZ Laptop Wholesale

